

Embroidering on a Nap, or Pile sort of fabric
At any time of year, but especially true with the holidays looming, we embroidery-type folks sometimes shy away from embroidering on anything with a nap, or fluffy pile fabric. Stockings, tree skirts, sweaters, fleece jackets, towels, and so much more! We can do this!
Don’t be afraid. With a few little tips, and some great sources for the right tools and supplies, you will breeze right through those lofty gifts!
These embroidery projects of mine wouldn’t be possible without tools and supplies found at my favorite source, www.SewingMachine!
(Yes, I am compensated for this post, but the opinions are mine and all true, and I would have featured them anyway, because I love them~)
I have purchased so much over these many years from them, just south of here, in their physical store, in Atlanta, Georgia! The brick and mortar store goes by the name of Southeast Sewing, on Ottley Drive, if you want to take a field trip. Allow a couple of hours to see all of the goodies! I also have purchased many of my main machines from them, new and pre-owned, and use them for service, too. Since I live a bit further away from them now, I also use their website to purchase online. Anyway, as I show you different products, I will link to them, since that is where I got it all!
The darling applique frame design has been digitized and is sold by Carol Guy, and you join her FaceBook group at “Carol Guy Embroidery Group“. She can approve you much quicker if you answer her 5 simple questions! After you’re approved, simply PM her with the designs that you want to purchase, along with your format. After paying through PayPal, she sends it to you by email. All of her designs stitch out so beautifully!
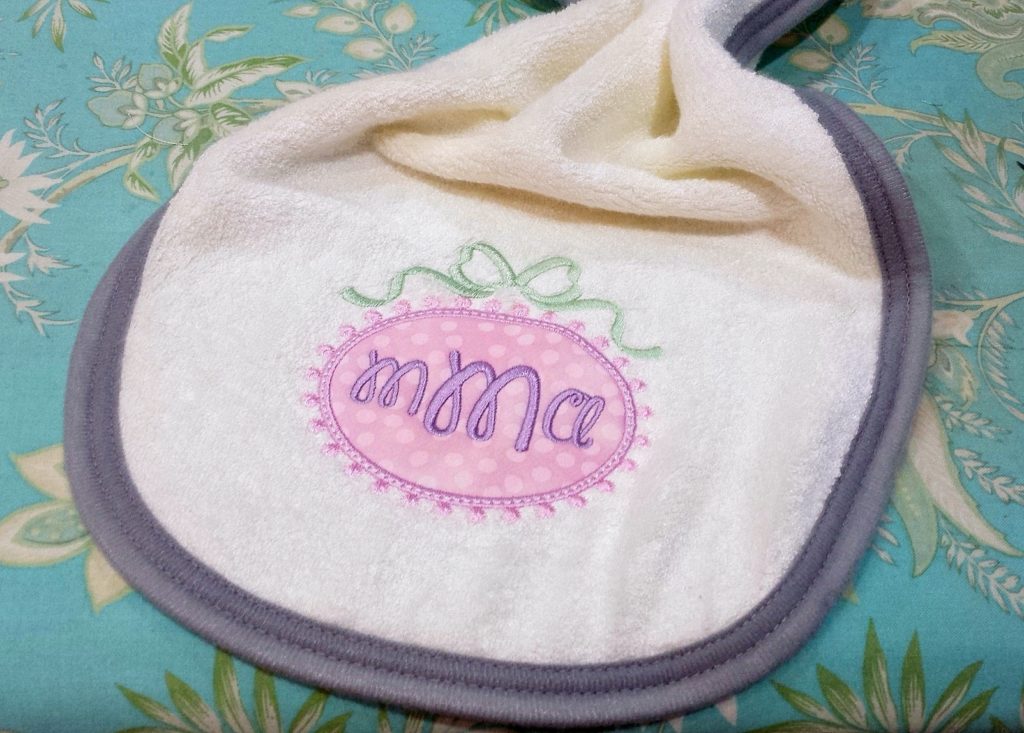
Design by Carol Guy. #1724 Oval Dots Ribbon.
To start, here’s a tiny tip to better place your stabilizer onto the back of your project. I find this especially helpful for towels!
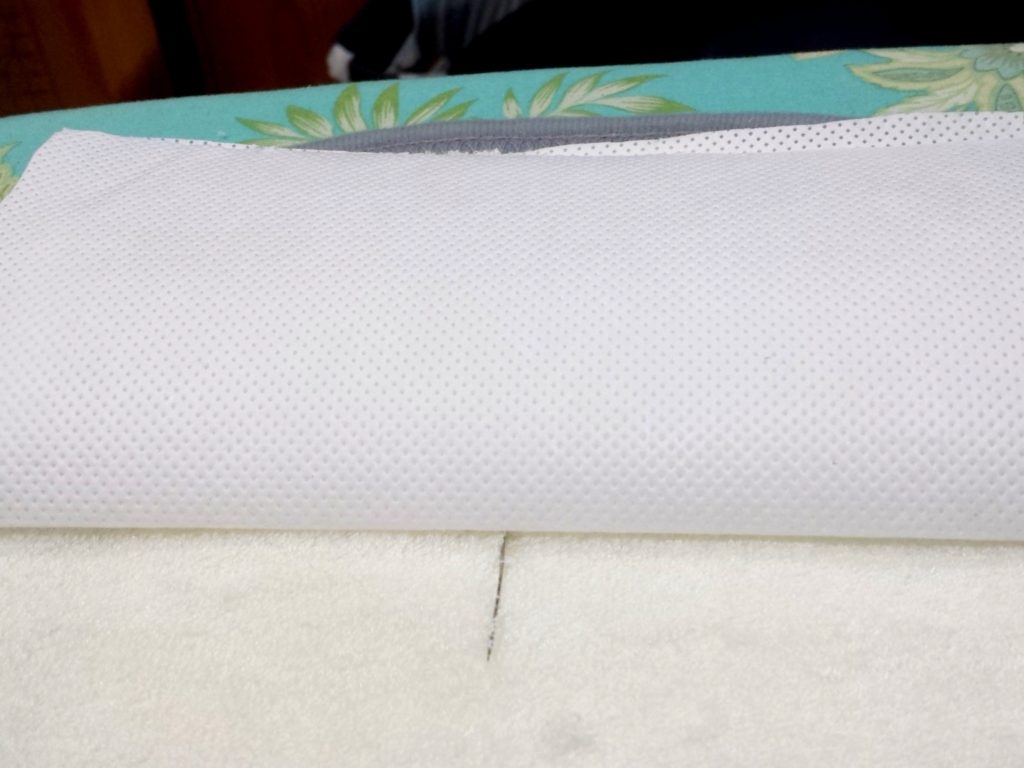
Tip. Stick pin in middle of template so you can see on the back where to center your stabilizer!

Center stabilizer over the pin.
I recently made the above, darling BAMBOO, organic burp cloth as a gift. Embroidering on items with any kind of loft, or “nap” is easy as long as you do a few things. If it’s a knit wearable, such as fleece or a Velour, you can use a fusible No-Show Mesh as your stabilizer. Float tearaway if you run across a higher thread count more than about 10,000. For this Burp cloth, I used my favorite waffle weave tearaway.
Since this was a small design, I was able to use my 8 x 8 pre-cuts. Very convenient to use these when possible. When you need a larger piece, they have the larger rolls available. This tears away cleanly, and really stands up to a higher thread count. It has a bit of spongy thickness to it.
Want to see where I stash all of my stabilizers? It’s just an inexpensive hanging shoe organizer, with “pockets” in the front and the back.
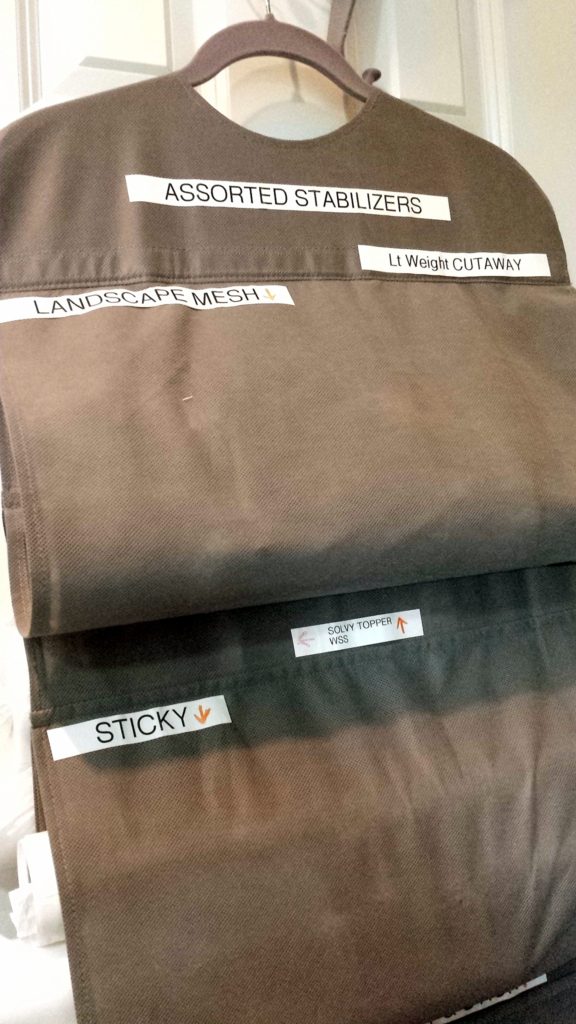
My storage solution for my stabilizers!
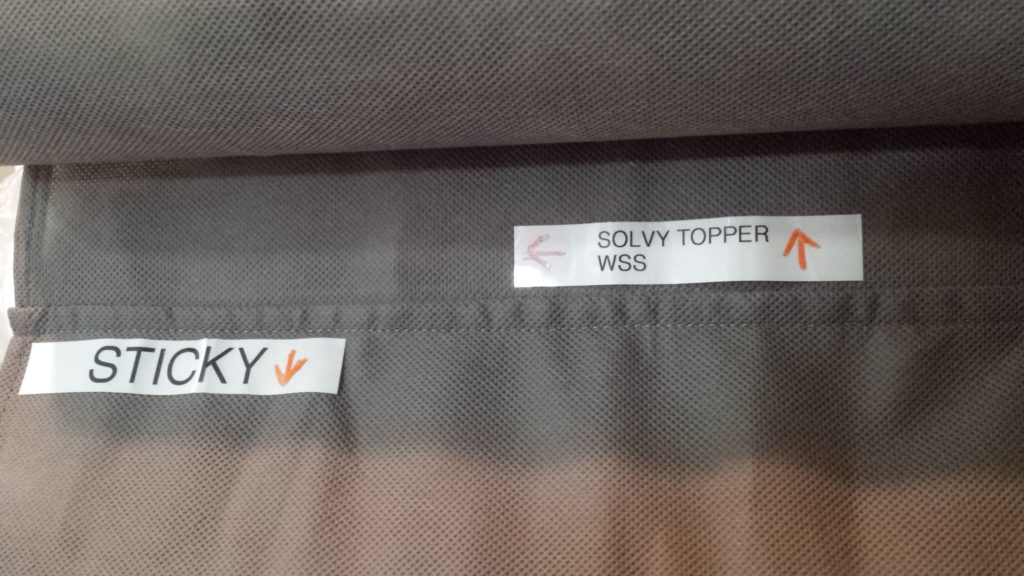
Here’s a close up. The side arrow tells me it’s in the front pocket, and the vertical arrow tells me it’s the back pocket.
Still allows the closet door to close.
Speaking of WSS… I keep all of my WSS (water soluble stabilizer) enclosed in plastic, so the humidity doesn’t gum it up. I tuck the ends of the bag into the ends of the roll. Nice and dry.
n’t hold them to that price! I have had that topper for ages. Please see site for current pricing. They also have Floriani products, including the polyester thread that I use the most often, including in this project!
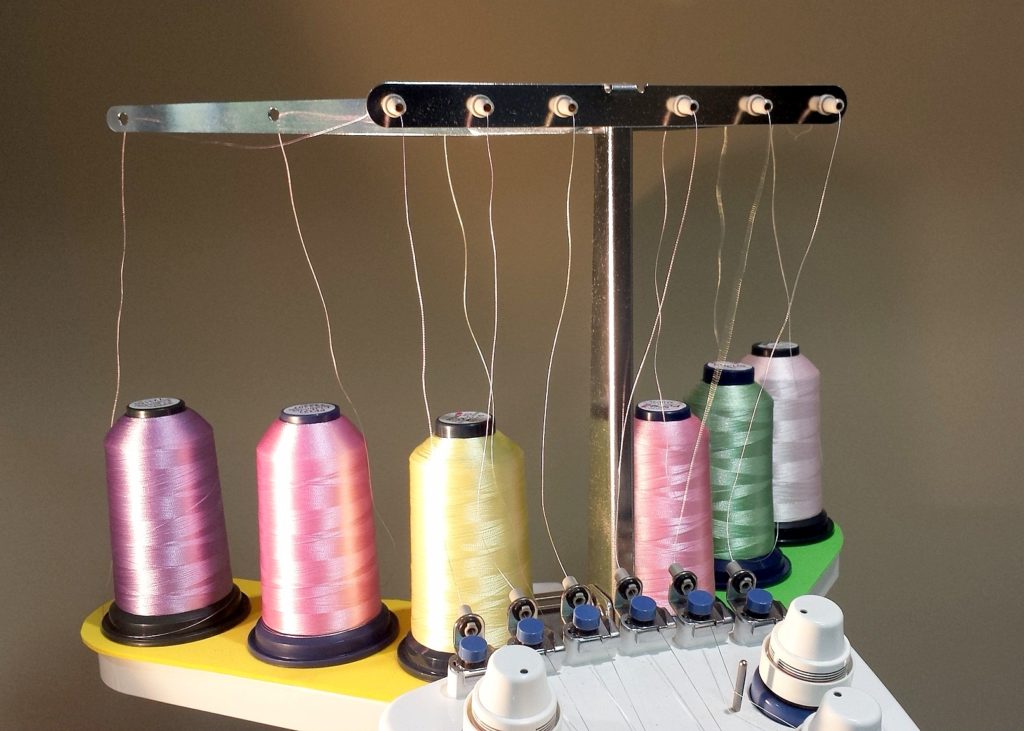
FuFus Poly Thread for glistening embroidery! Called Floriani Poly Embroidery Thread when in the smaller, 1000 yd spool
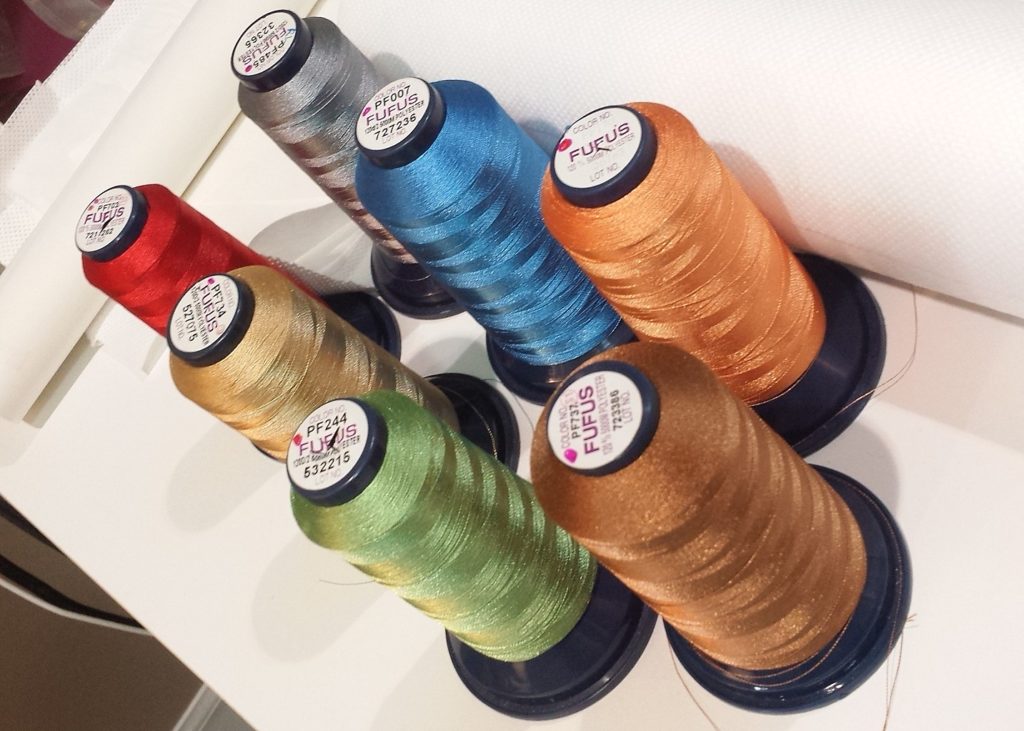
More thread, standing by!
Enough with the preliminaries! On to the “doing” of the nap project!
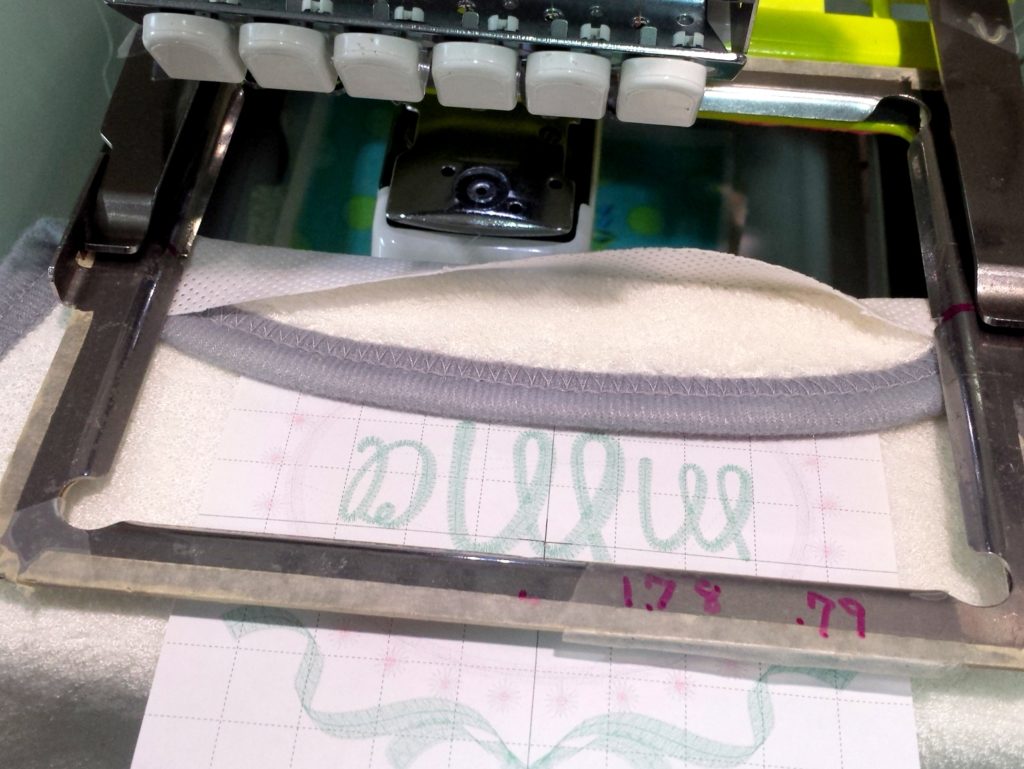
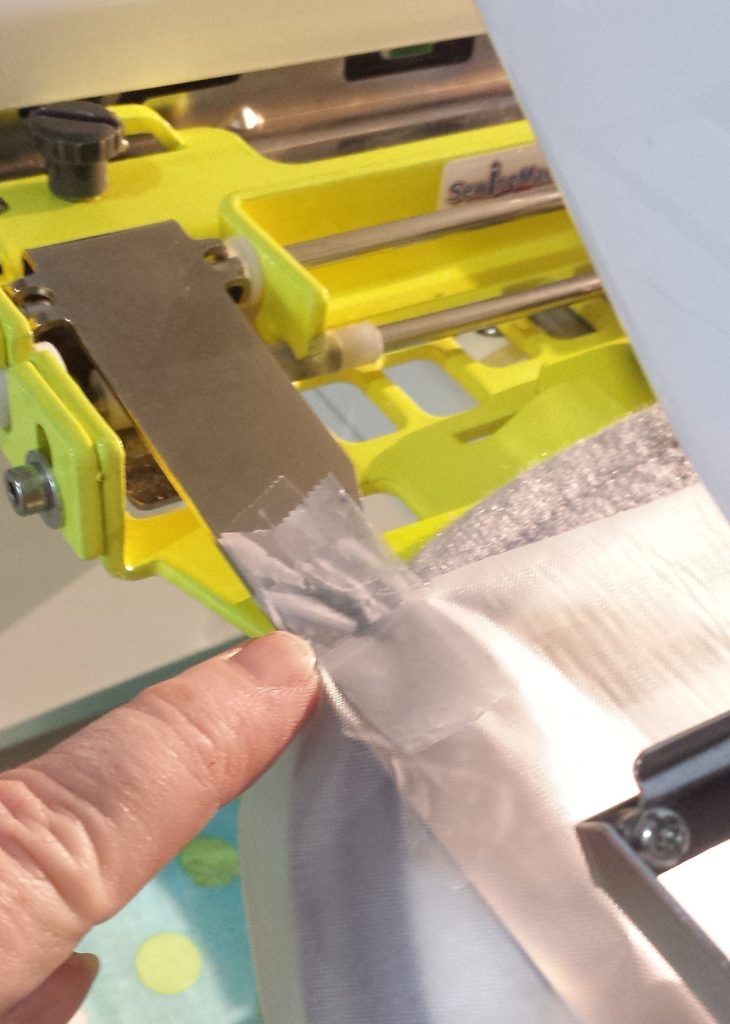
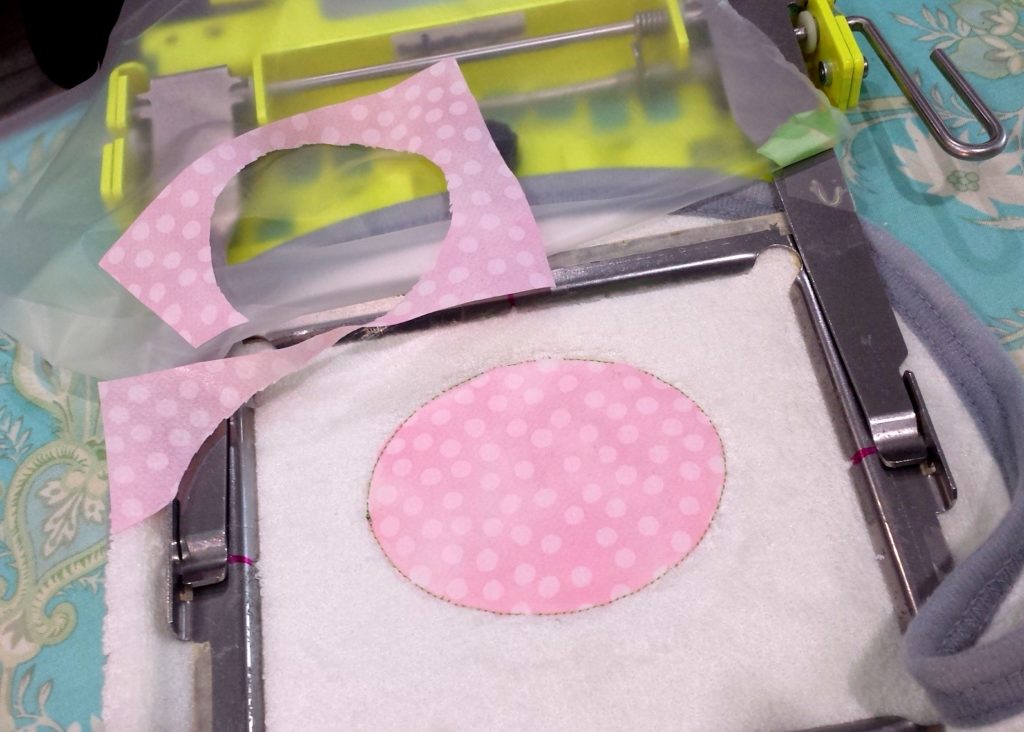
My fave tip! As you slide your stabilizer, fabric item and template into your clam-type hoop, fold the leading edge over so the template and stabilizer won’t get caught and rumpled. Hope that makes sense!
I know I have a messy hoop. Tape and over-spray and markers used for my centering numbers. Oh, my. This is a real post in my real, messy studio. I obviously didn’t glam it all up to take these less than stellar photos, either!
Truth? I had to get this project finished, and my “good” camera was upstairs! I used my barely acceptable cell phone, on the fly. I tried to fix all that I could in post!
You may be wondering what in the heck a “clam hoop” is? It’s one of my most used hoops in my studio. It is, officially, called a Slimline Hoop Tech Hoop System. It comes in several sizes. I saved up my $$$ for quite a while before investing in it. I use the 6.5″ x 5″ frame the very most. I do have them all, after all of these years of stitching. Oh! Guess where I got it? Yep. www.SewingMachine. It is made for my Brother PR 620, six needle machine. You can drool over it HERE.

Line up paper template grid edge that has been sprayed lightly with 505 spray. No crooked designs!

Cut a chunk of WSS topper to cover design field
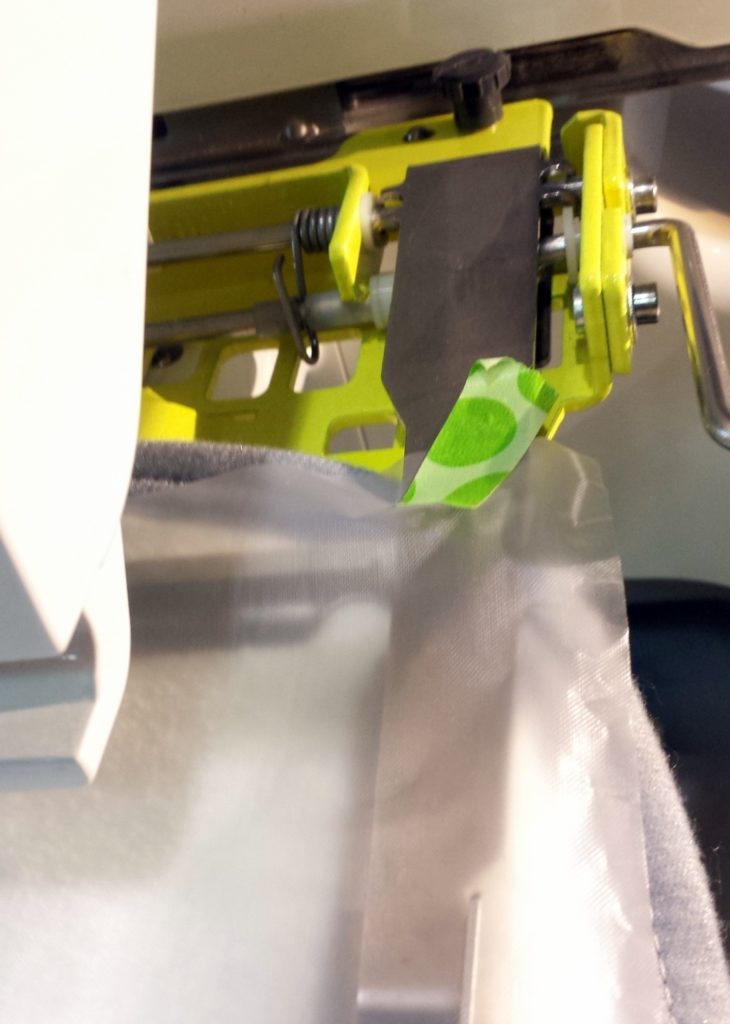
Use Washi Tape to anchor your topper to the frame of the hoop.
Or, use a piece of clear tape to keep that WSS topper attached. I’m not picky. I reuse both until there is no more sticky left!
Reuse small tabs of tape or Washi until they just can’t handle the job anymore!
Confession. I forgot that this design is applique’ and so I didn’t have to add the WSS yet! No problem. I just flipped it back until I needed it, after the applique’ fabric was trimmed!
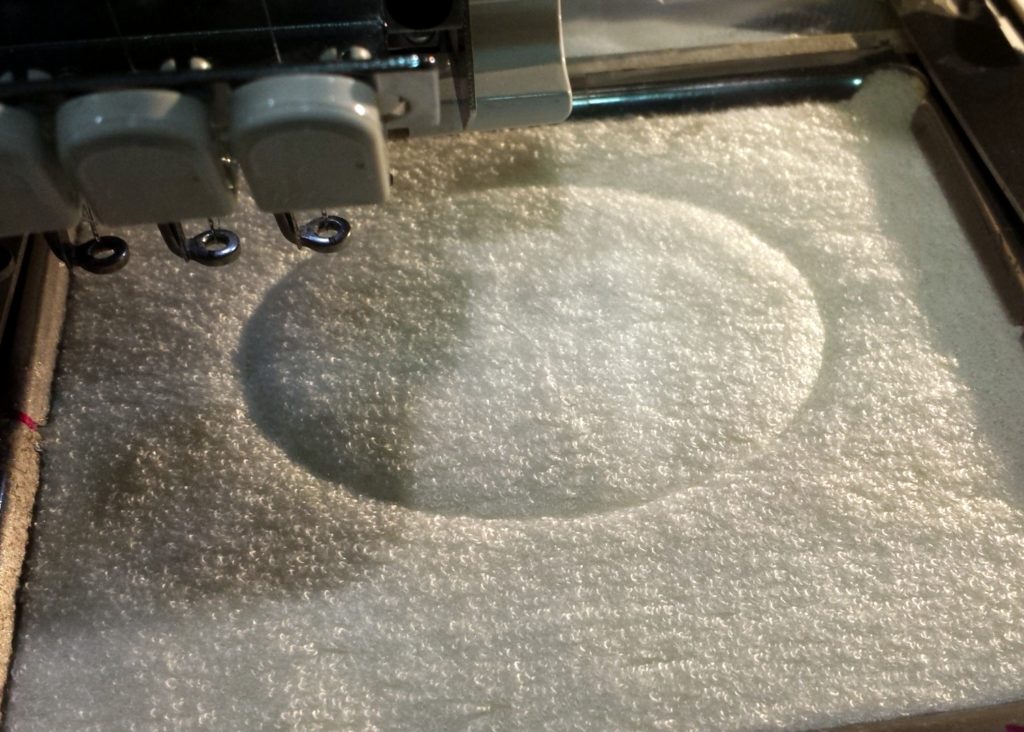
Stitch placement stitch. No topper needed or desired.
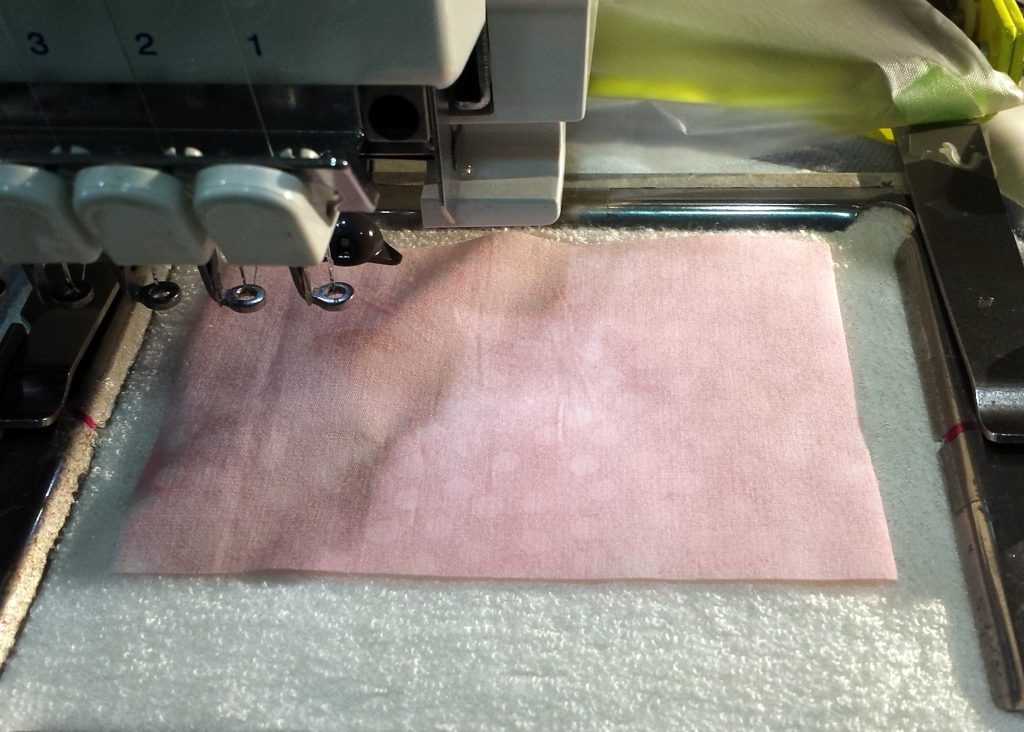
Place fabric that has Heat n Bond LITE ironed onto the back of it. Make sure it covers all of the placement stitch.
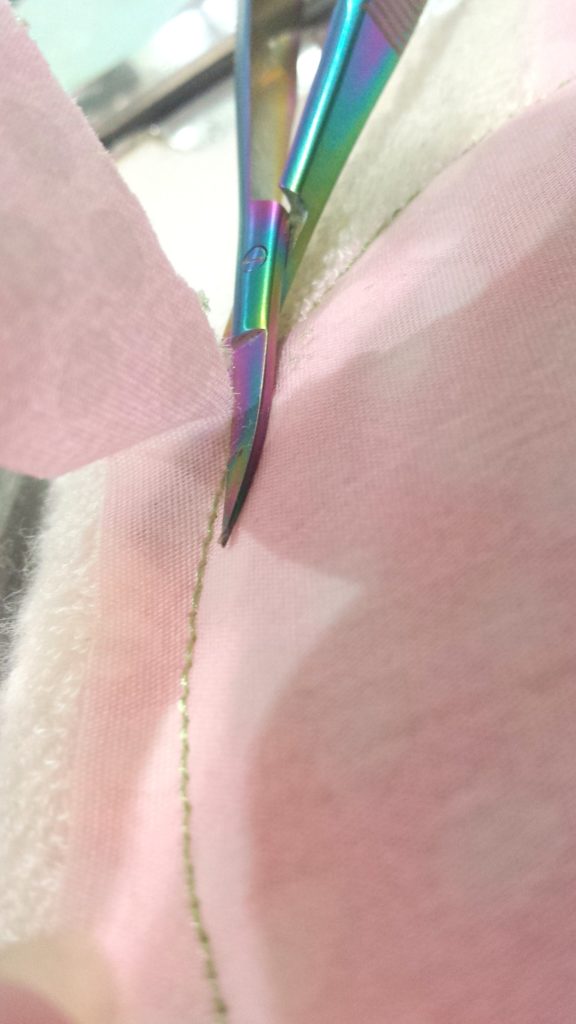
Stitch tack down stitch. Trim close to stitches.
TIP! Notice how I pull the excess fabric straight UP as I trim VERY close to the tack-down stitches? I do this to make sure I can visually see that I am not cutting into the fabric . Also, it helps me guide the curved, micro-edged scissors to get as close as possible to the stitches, which is helped by the tautness of the gently pulled fabric.
I take the entire hoop out of the machine to place on a flat surface to trim. I save my applique’ scraps for another project!
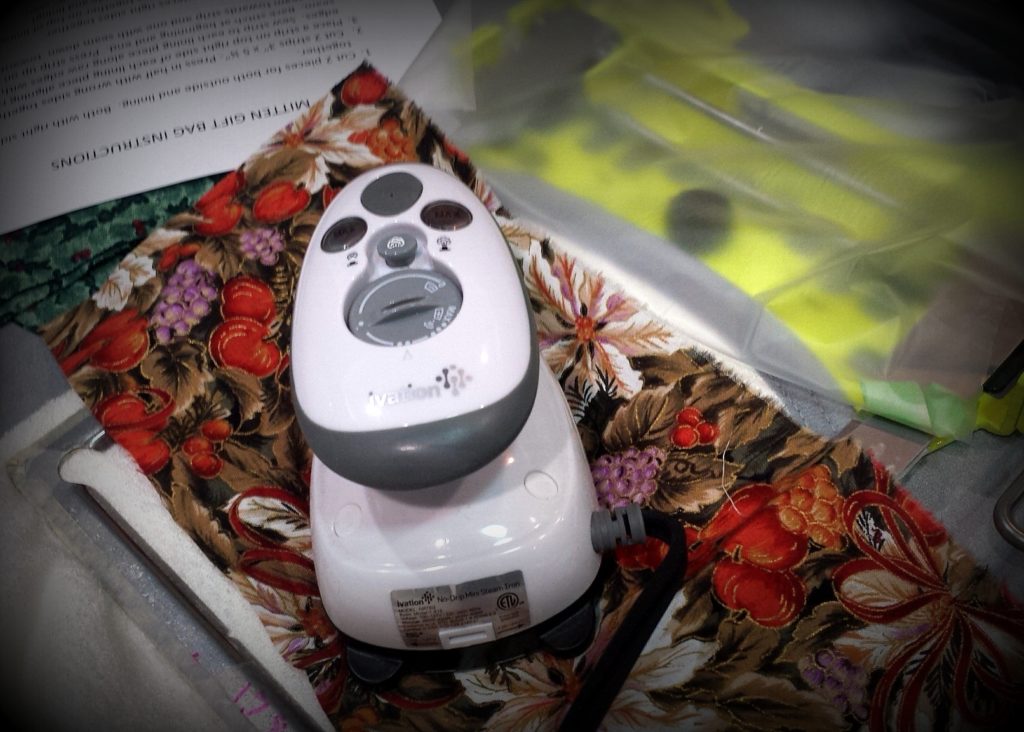
Use a tiny iron with a pressing cloth to press the fusible applique fabric to the fabric underneath. Yep. Used a scrap of cotton Christmas fabric as the pressing cloth! Please don’t judge me!
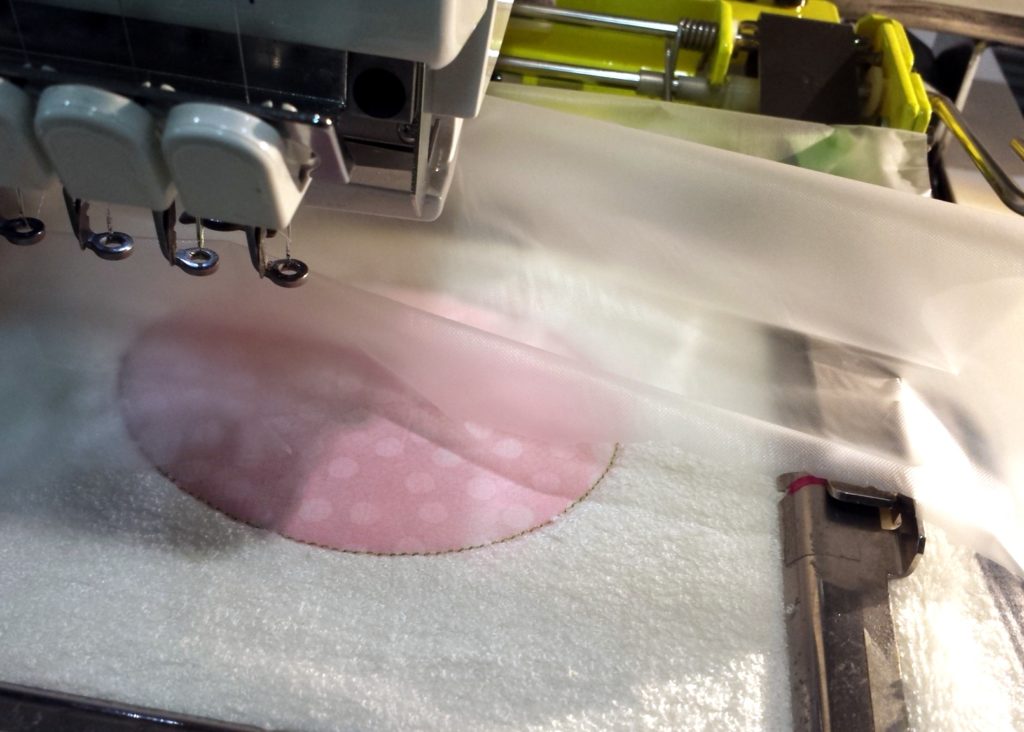
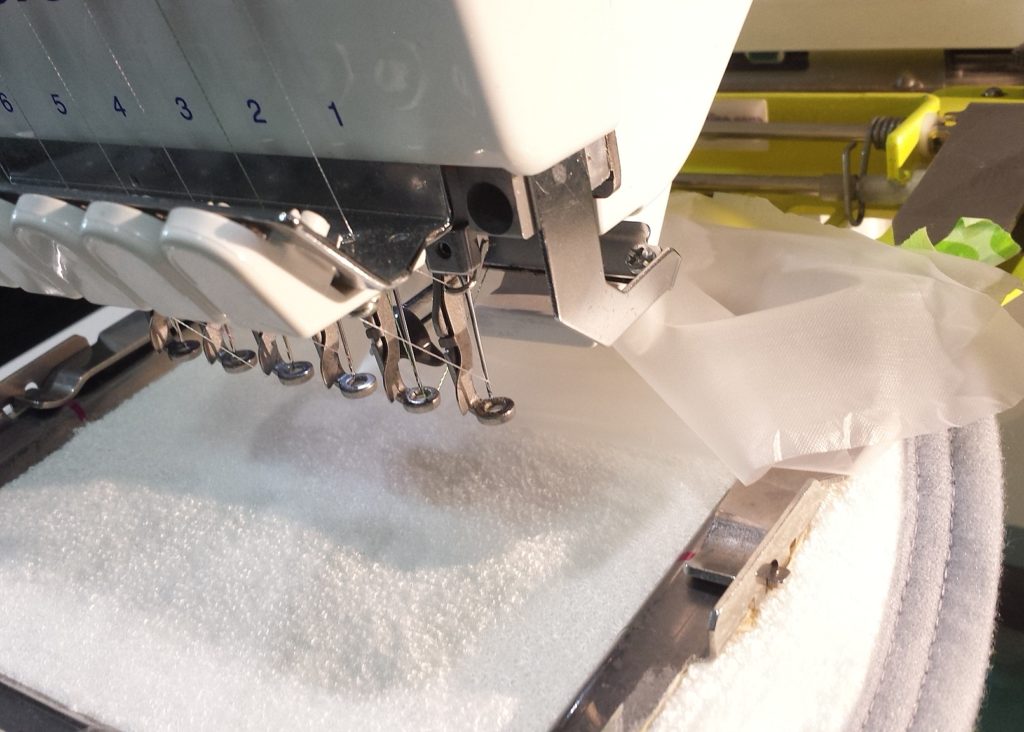
NOW bring the clear topper down to cover applique’ shape!
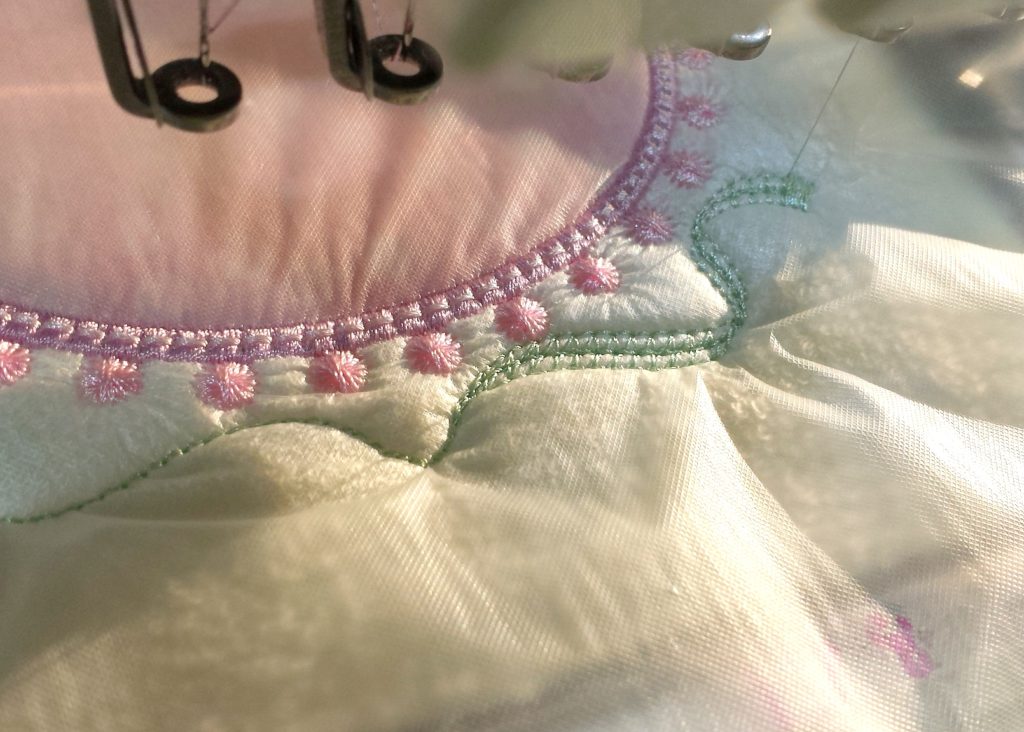
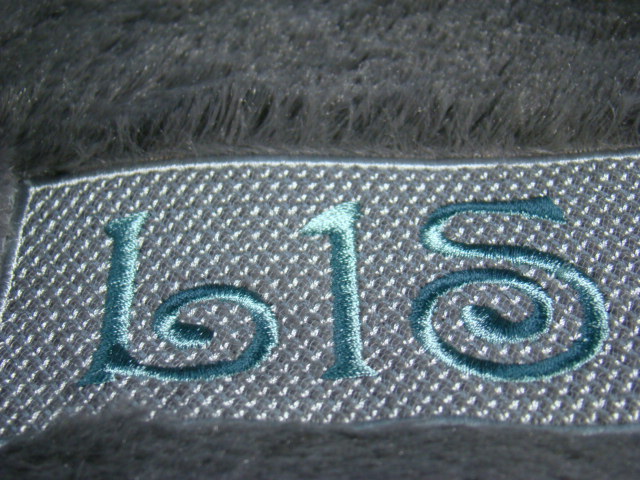
Important! Notice Carol’s beautiful underlay?! That is a must when stitching onto items with a nap!
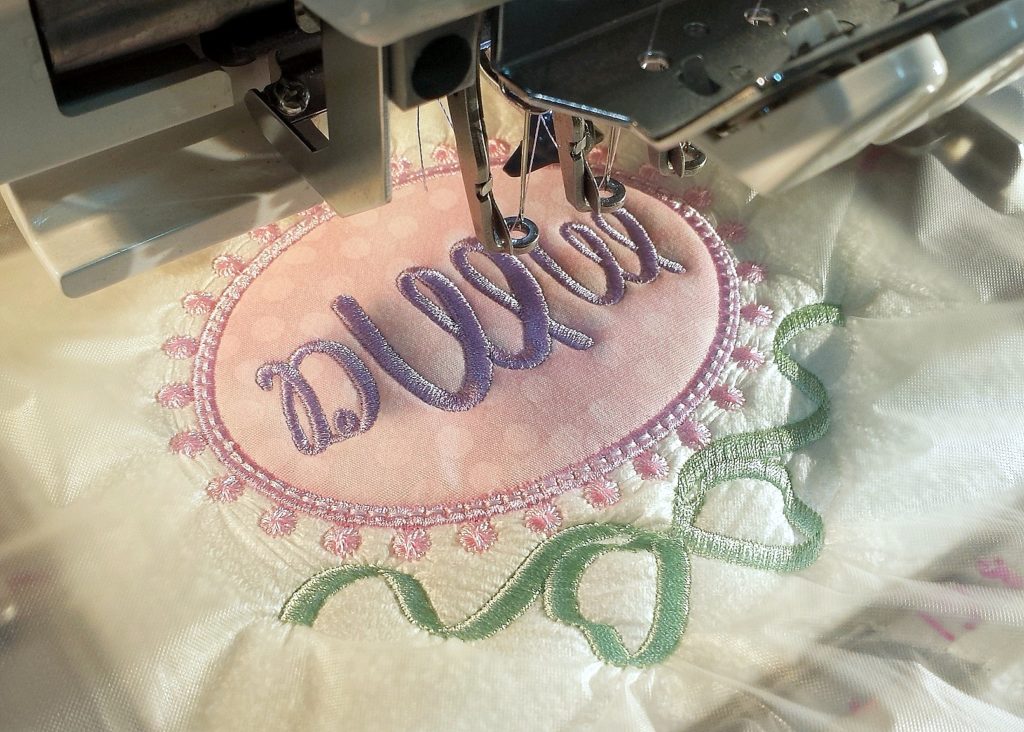
Judgement call, here. You can choose to remove the topper from the center before the monogram is stitched, or, just leave it until the embroidery is finished.
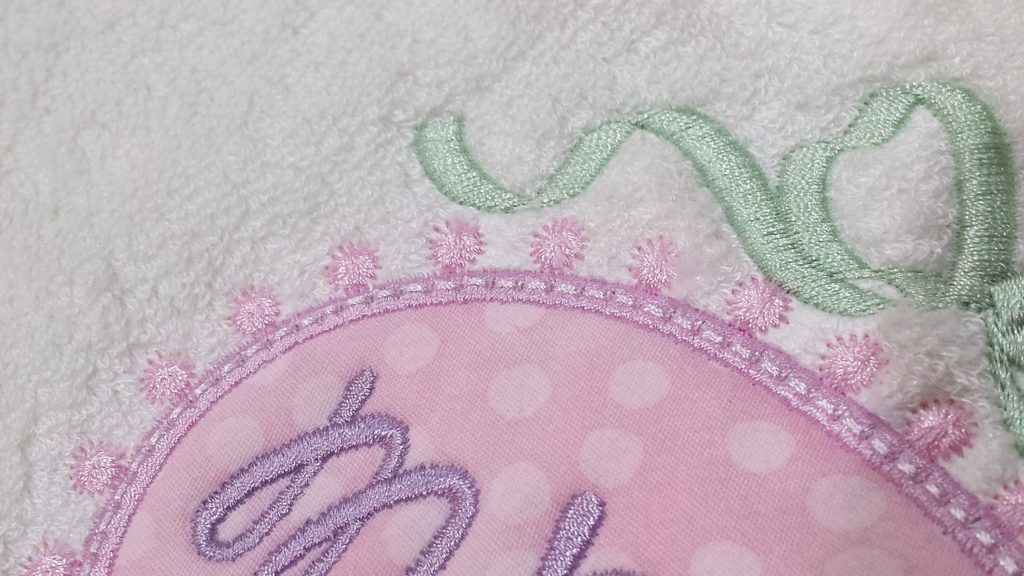
After the topper is torn away, see how beautifully the small details of the design still sit above the nap of the fabric?
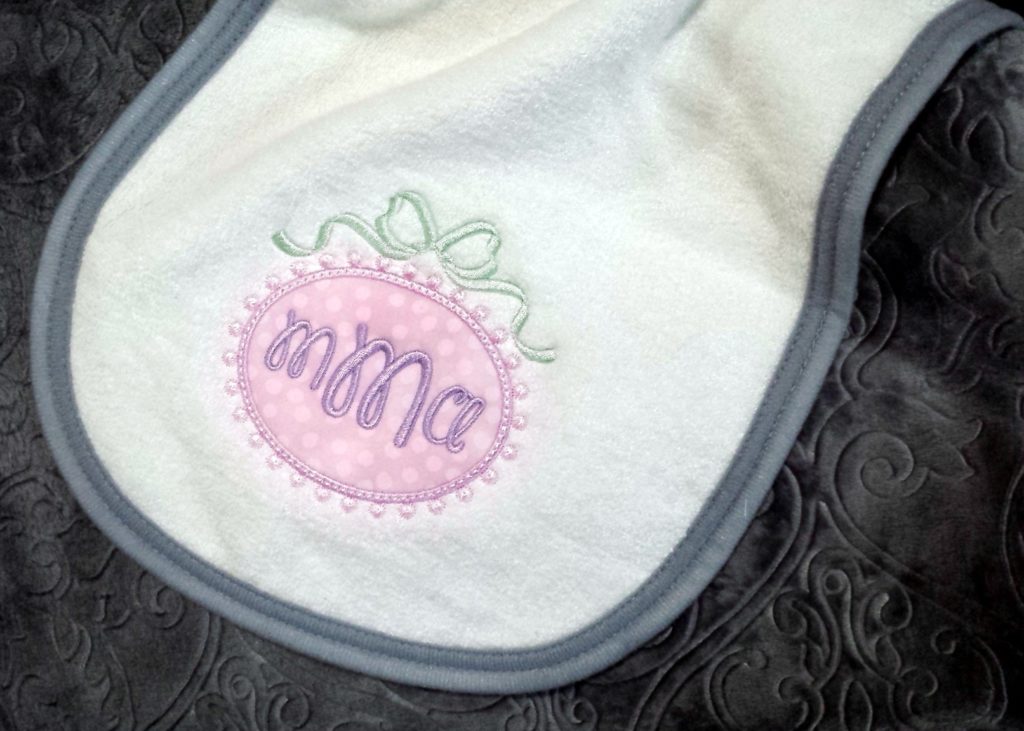
Ready to wrap!
So, in a nutshell:
For impressive results, first, use a quality design.
Use a clear, WSS topper. Always.
Make sure your design is digitized with UNDERLAY. This ensures that the top cover stitches are supported by the base, underlying stitches. Underlay also serves to hold down that nap, so that the top stitches don’t gap over time and let the pile poke through.
If you are using a font software that gives you the choice of adding or not adding underlay, USE the underlay feature when creating any monograms or words that will be stitched onto a fabric with a nap. Also, don’t make your letters too small when stitching onto this sort of fluffy fabric. They will only get lost. If you must use smaller letters, then consider using applique’ fabric as the base so the letters are readable. Another option that some software offers is the “knock-down” stitch, which first stitches a base of stitches behind the design, then the nap will be “knocked down” allowing a stable base for the design on top. It sort of acts as an overall underlay.
May I give a shout out to one of the sewingmachine owners? Steve Tramell is so helpful! Not only is he an all around great, giving family man and business owner, but he JUST won reelection of MAYOR of West Point, Georgia!
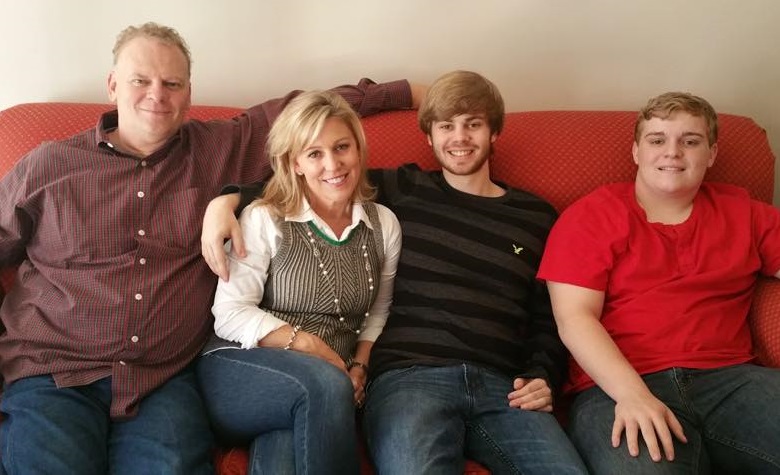
Mayor Steve Tramell and Family
He and his father, Mel Tramell, are the owners of this amazing company. They have the store in Atlanta, and now a location in West Point, too! If you connect with them, please let them know that “QuirkyKim” Banta sent you!
Now, go stitch up some amazing, lofty gifts! I would love to see them!
Here is some inspiration for you. All stitch-outs are my own.
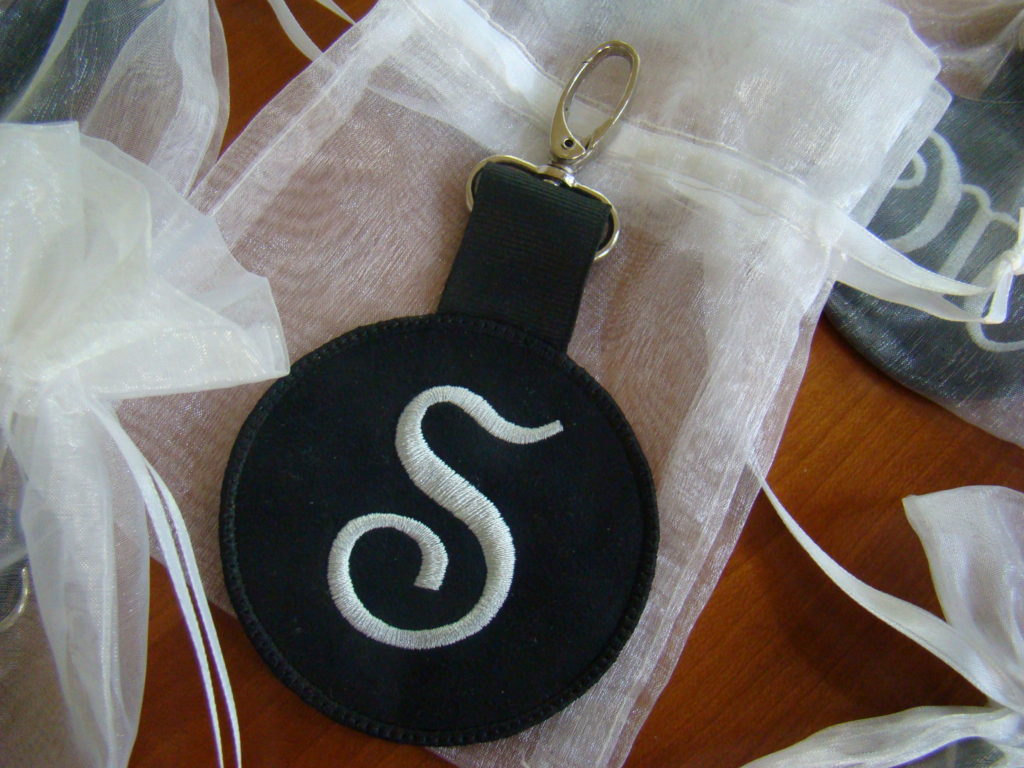
Faux Suede Key Chain
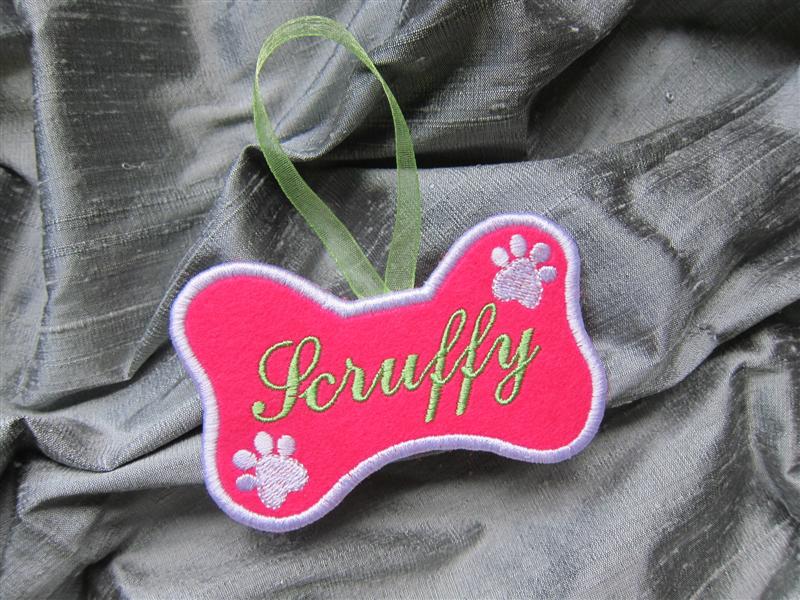
Embroidery on Felt
Embroidery on a Towel

Use Underlay!
Gorgeous design digitized by www.SoniaShowalterDesigns.com
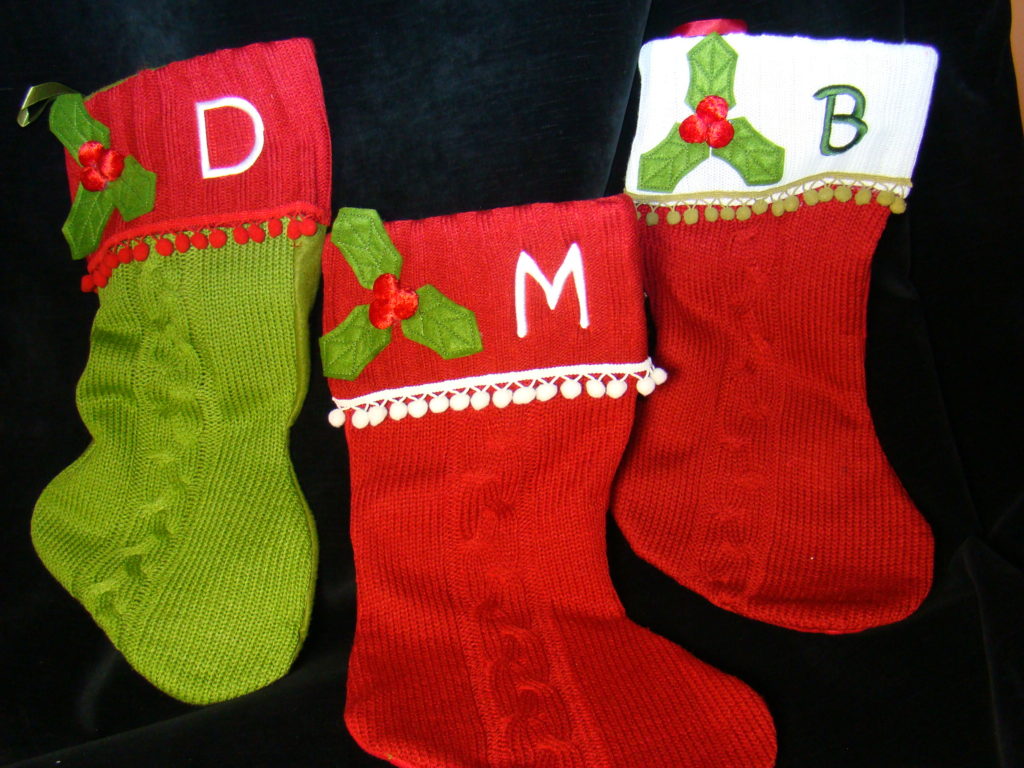
Cable Knit Stockings
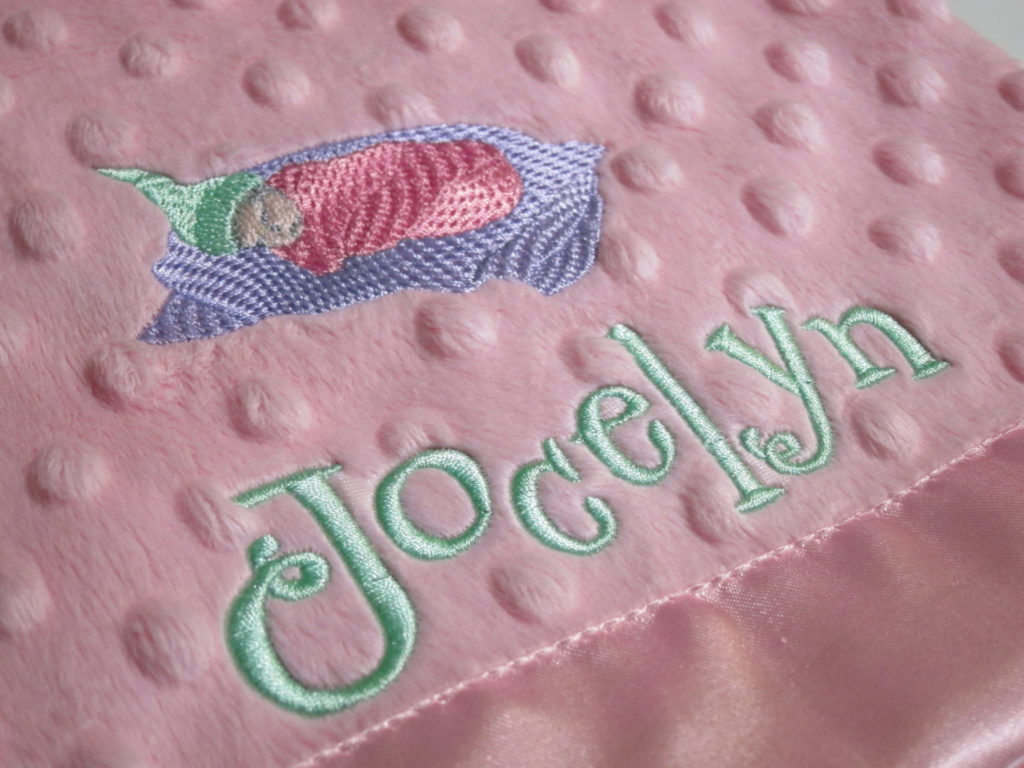
Fluffy Blanket
I digitized this knock down stitch and added netting behind it to hold down that very fluffy nap!
So, are you inspired and empowered? Happy stitching!
Save
Save

Thanks Kim, always interested in better ways to stitch things.
Thank you, Shirley! Life is all about learning!
Thanks for the article, Kim. Can I ask about your knockdown stitch details? What software, how you did it? It would be very helpful for heavy knits and furs.
thanks.
Hi, Karen, Thanks for reading my blog post. I happen to use Embird Editor, and Embird Studio for digitizing. I don’t know if you digitize, but that is how I created some simple cross hatched sort of stitches within a rectangle. I added a satin stitch around that. So, in essence, it is truly an applique rectangle. I lay down a bridal tulle, or netting, which is the same color as the item I am stitching onto. Sometimes I will use a gold or silver tulle, if I want it to show. Sometimes I even use a holiday or other fabric and treat it totally like an applique’! Let me know if you digitize. I can give you further instructions.